
SQUAREBIRDS FRONT DISC BRAKE CONVERSION
By Gary Hamm ~ 1946Hamm
This procedure applies to all three years of Squarebirds.
I ordered the Hot Rods and brakes disc brake kit and took some pictures of the parts and the installation of one side for you. The rims are 15"x6" rims. I had aftermarket 14" California wire wheels on it and am putting 15" chrome aftermarket wire spokes wheels on it when I get it done.
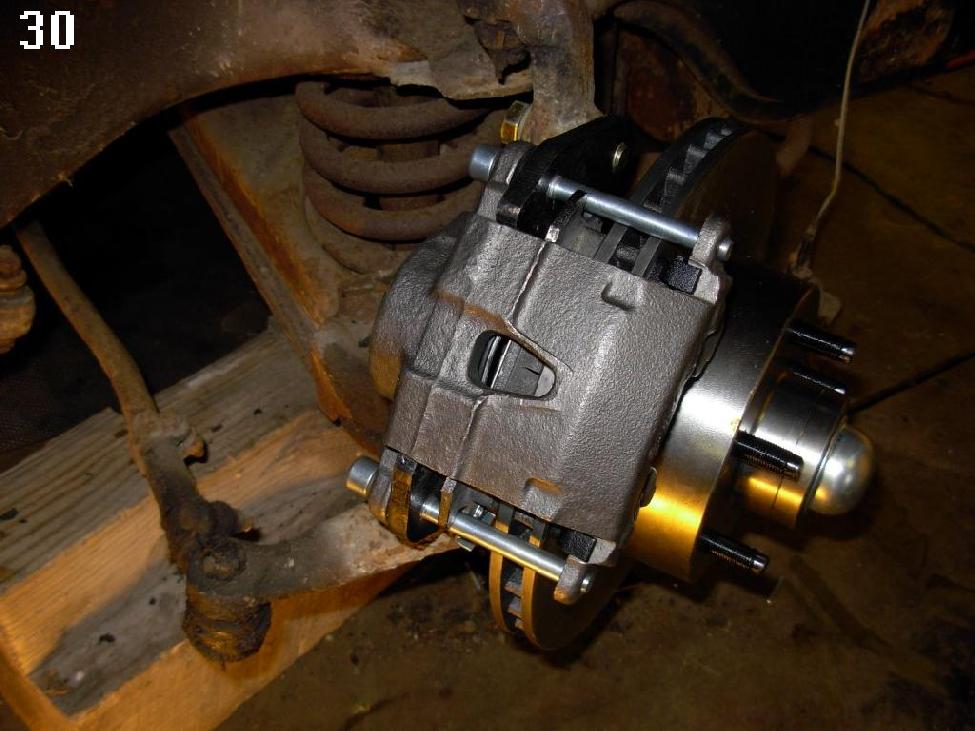
The 14" fits but is very close, like 1/4" room above the caliper. The 15" has plenty of room. The wheel offset is 3 1/2" if that helps. 14" granada wheels should work but there won't be much room. I used the original spindles. That is what the spindle adapter spacer is for. No alignment is necessary when this kit is used because the spindle is original and the original steering alignment is not messed with. In fact, in picture #30 you can see the original upper ball joint with the rivited mounting. They are still solid and have never been changed.
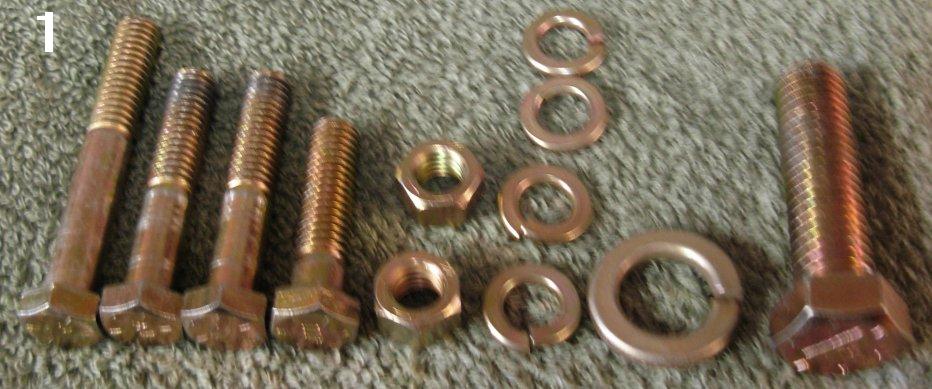
Pic.1 shows the bolts supplied for one side only since I already used the ones for the other side. So double the bolts in the picture for what is supplied.
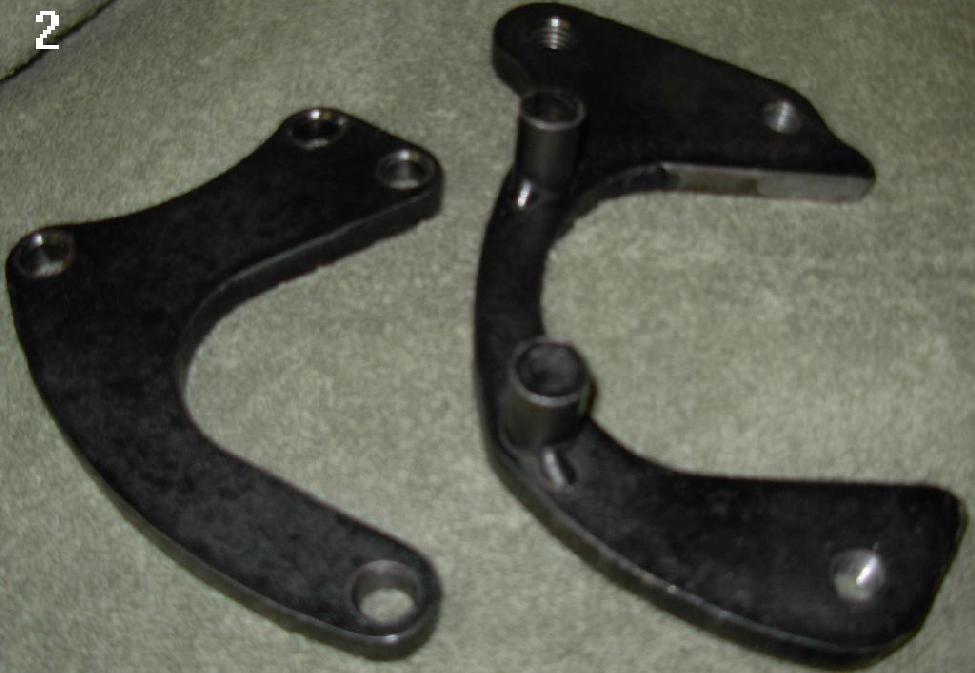
Pic 2 shows the brackets for the left side.
Pic 3 shows one of the brake lines. Notice it is DOT approved.

Pic 4 & 5 shows the spindle spacer.
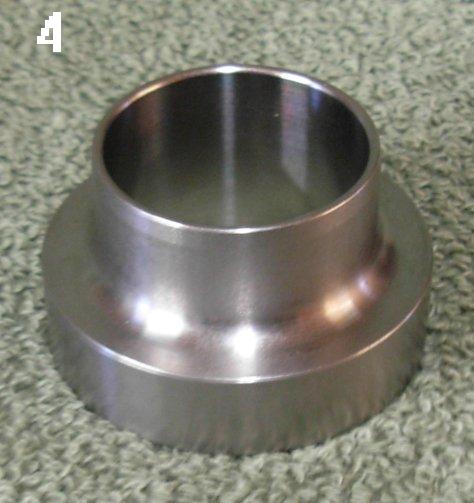
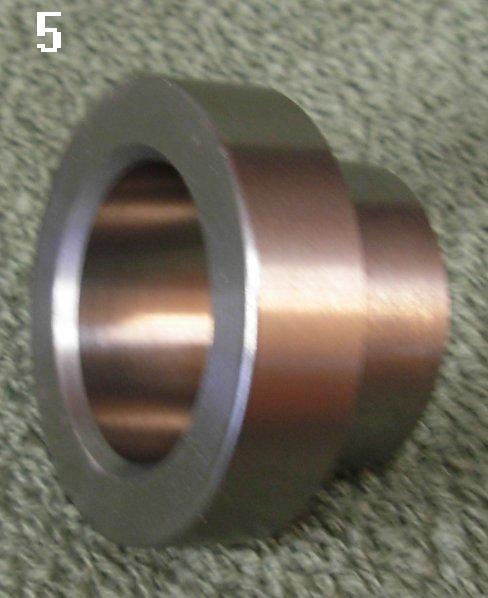
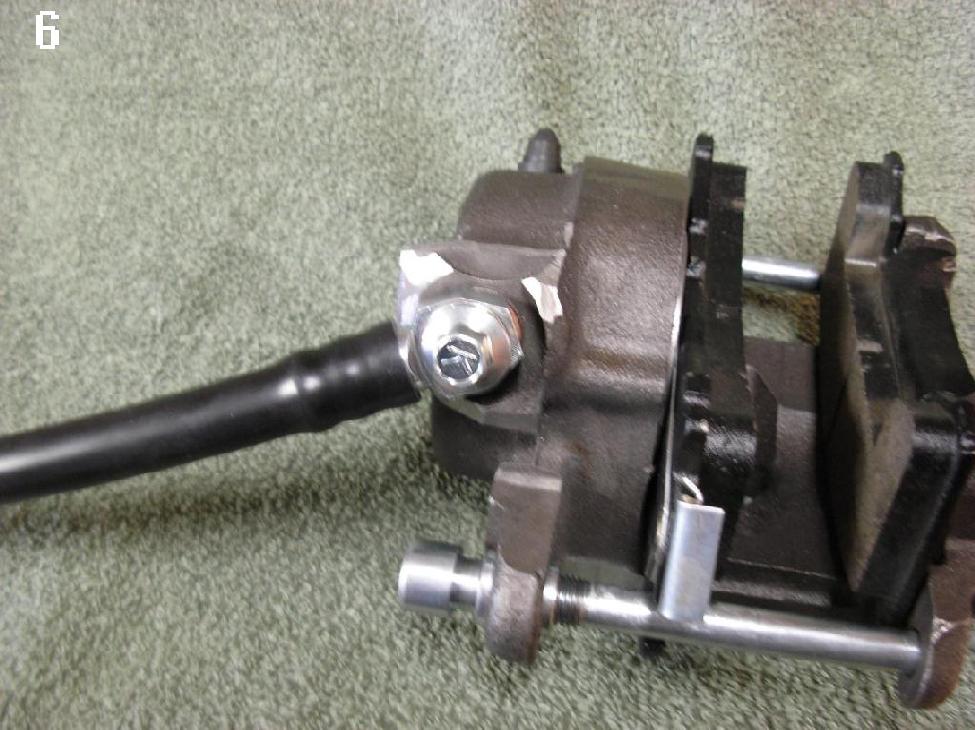
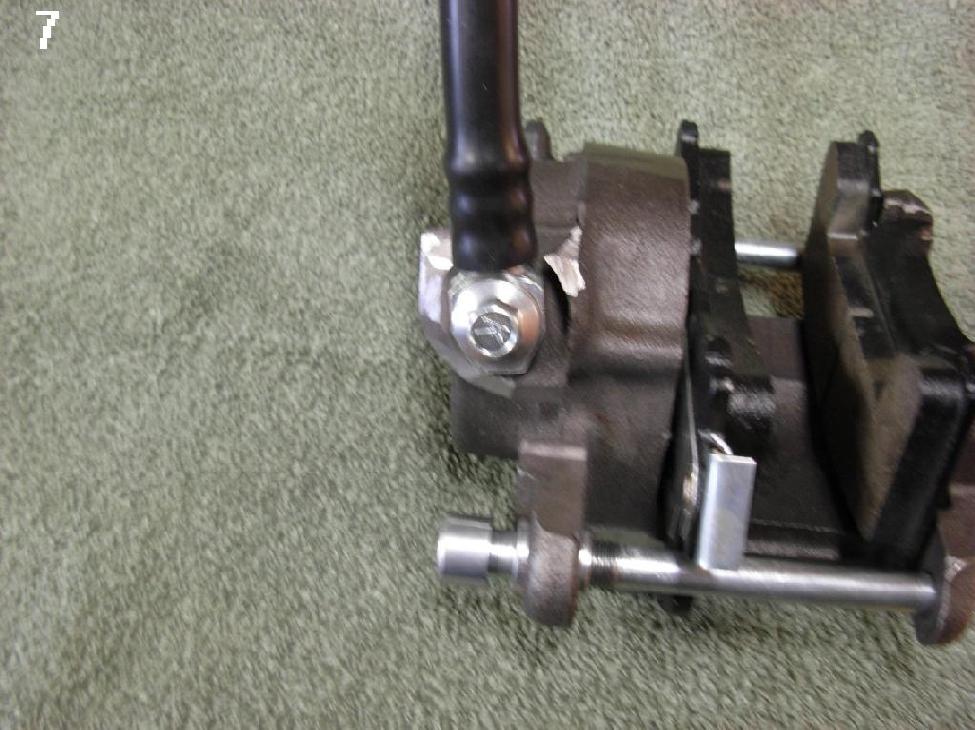
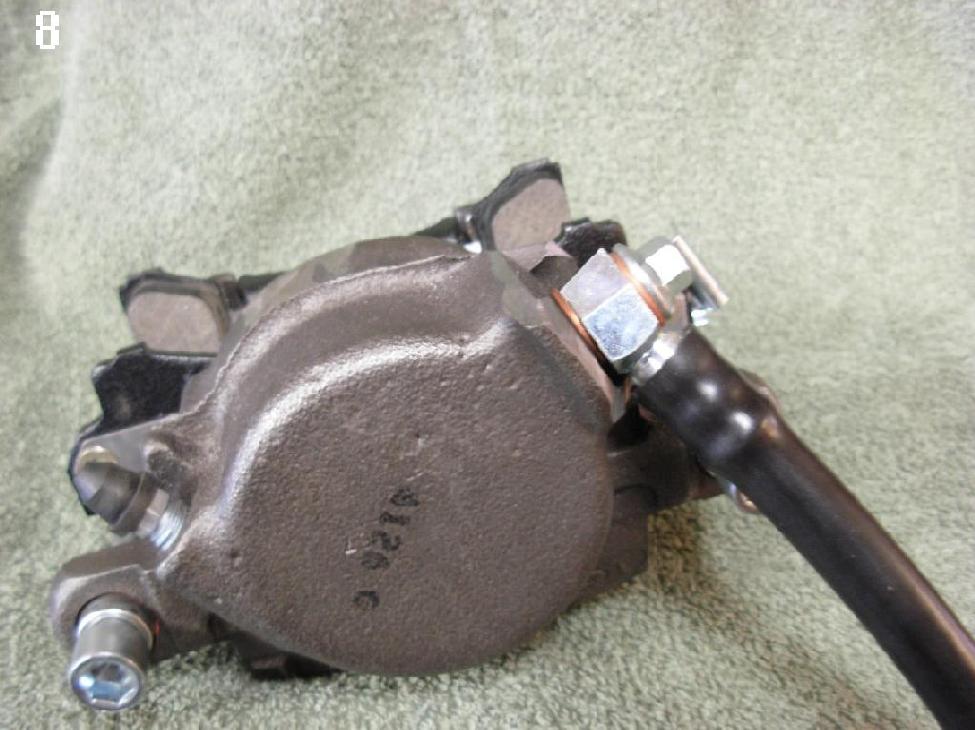
Pics 6,7,8 shows the brake line attached to the caliper in different positions.
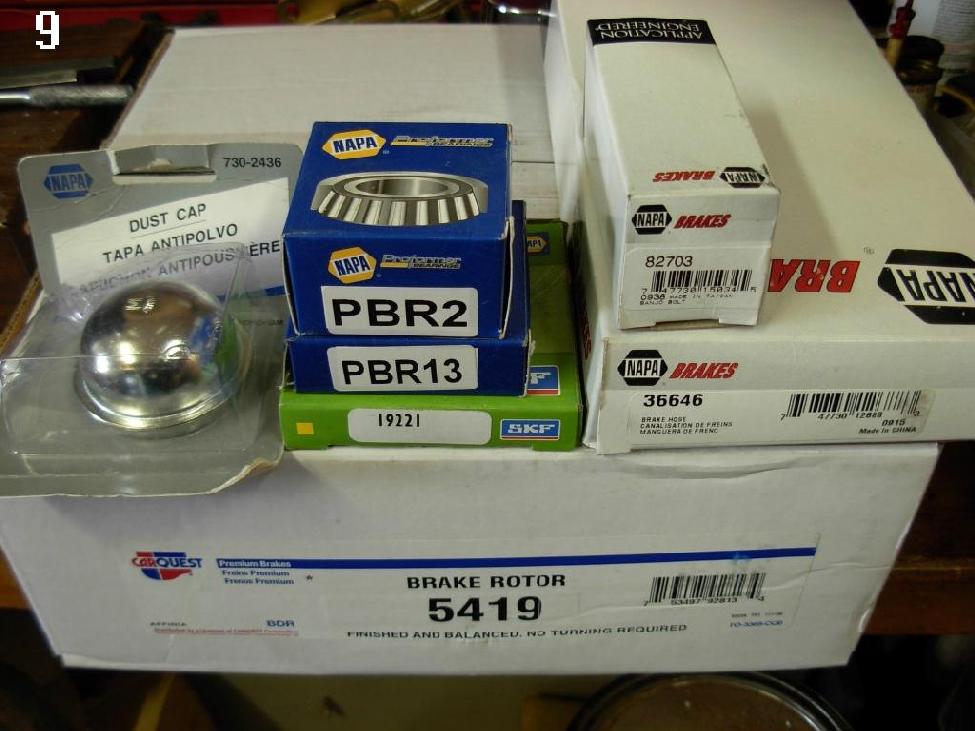
Pic 9 shows the parts with numbers for one side.
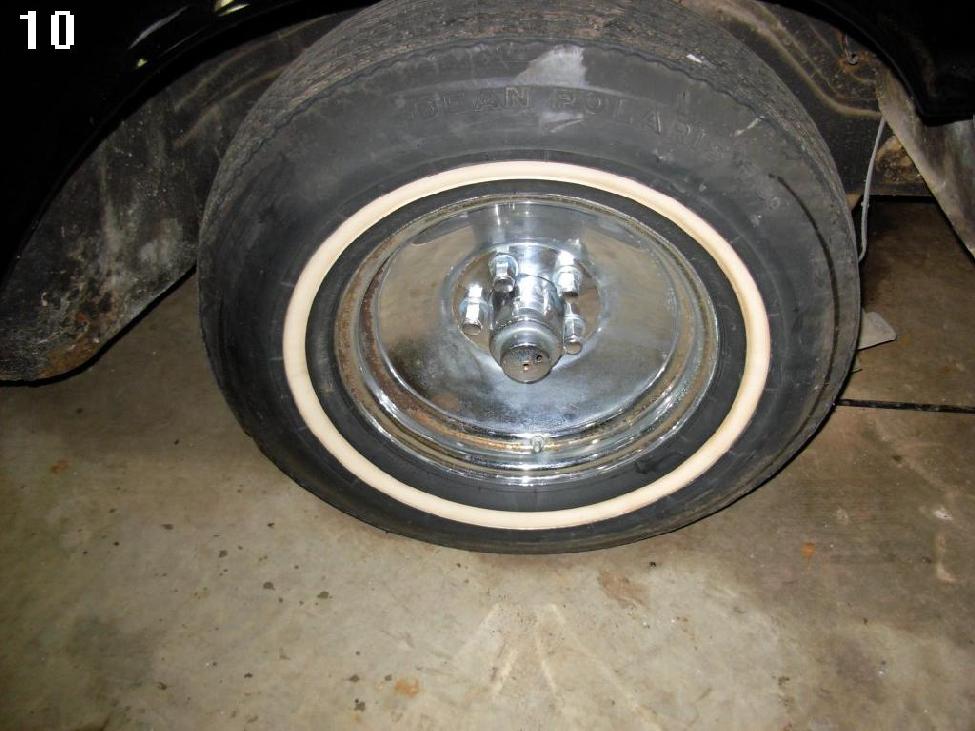
Pic 10 Disc brake 1 shows the wheel before I removed it for installation.
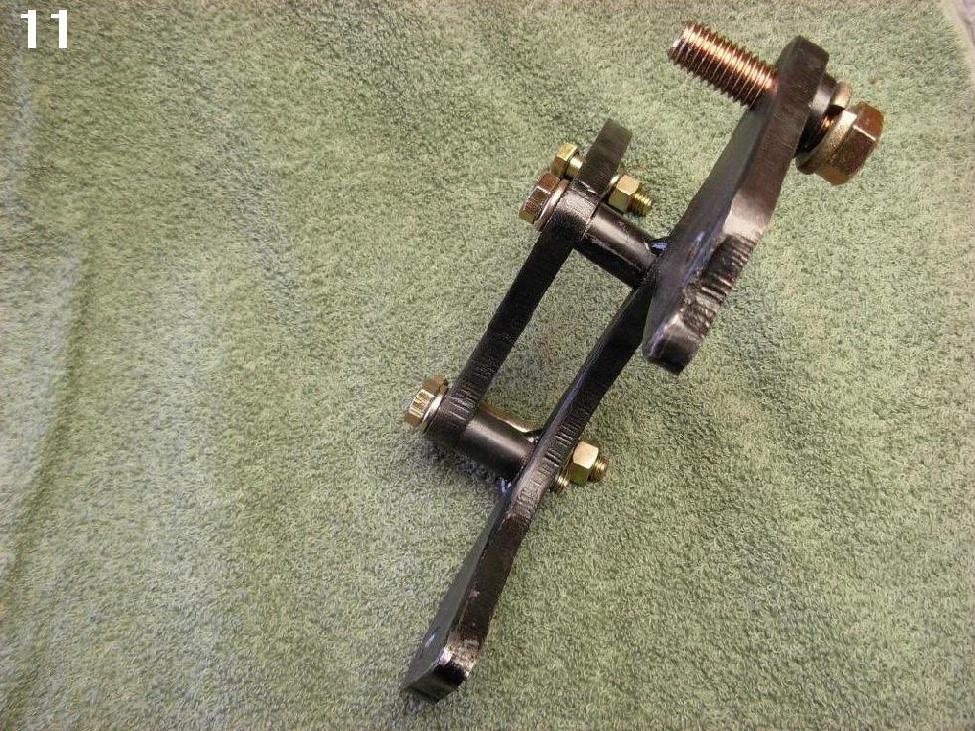
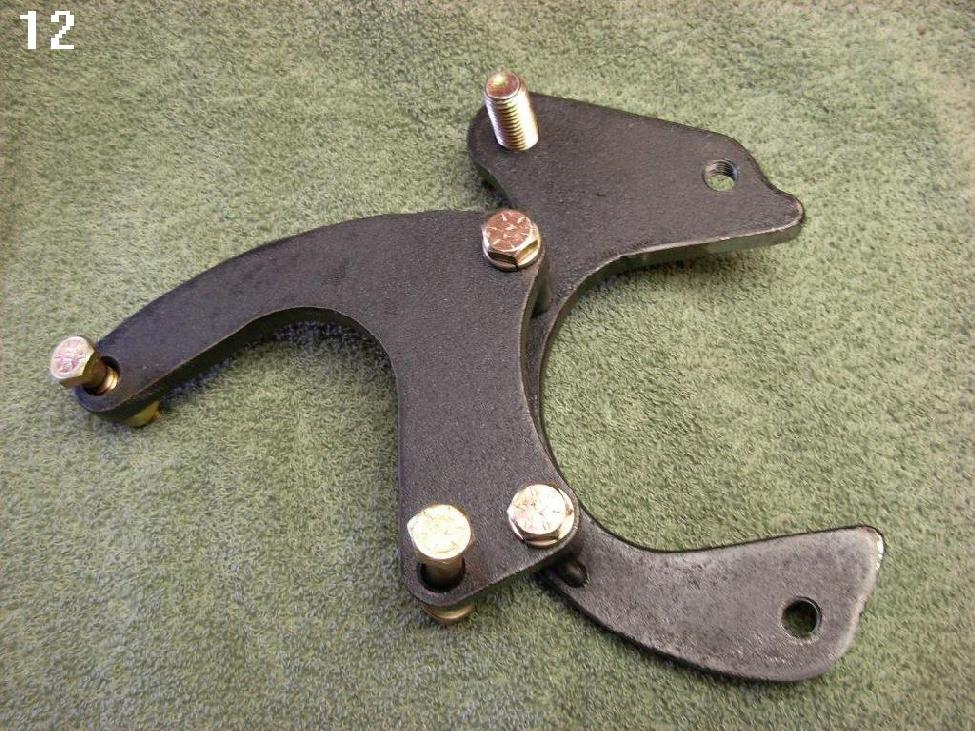
Pics 11 & 12 show the brackets as they would look bolted together.
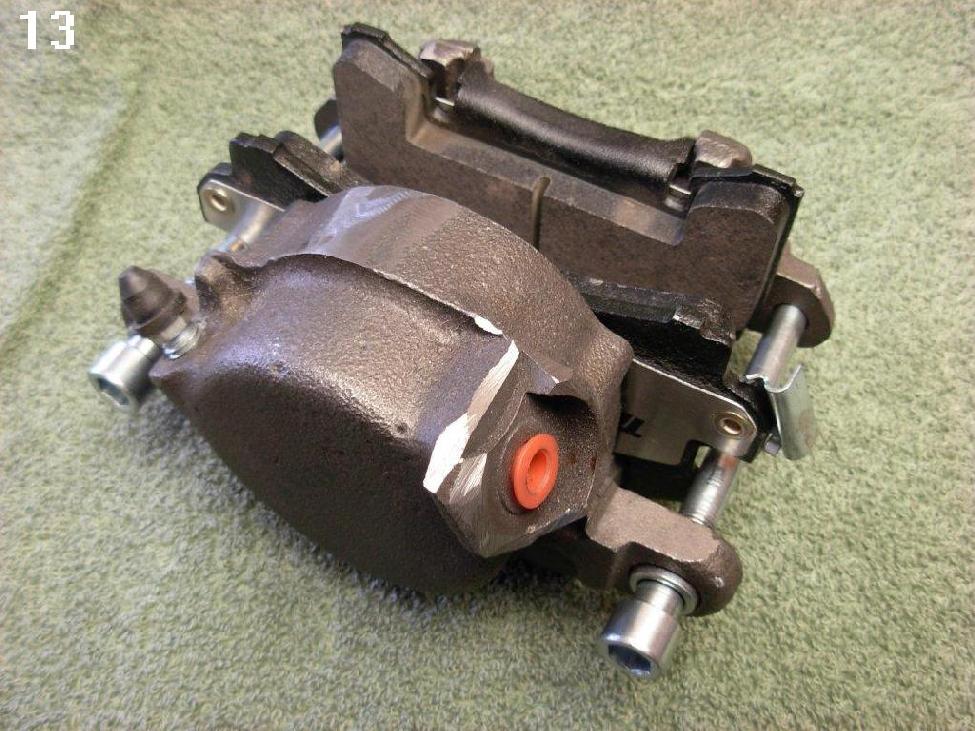
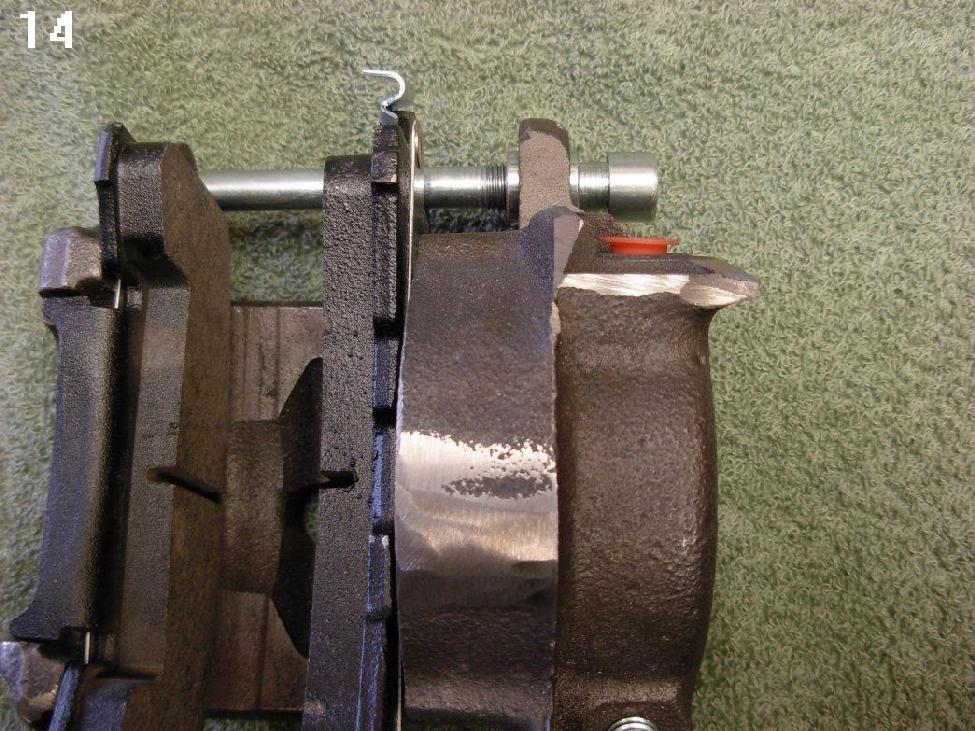
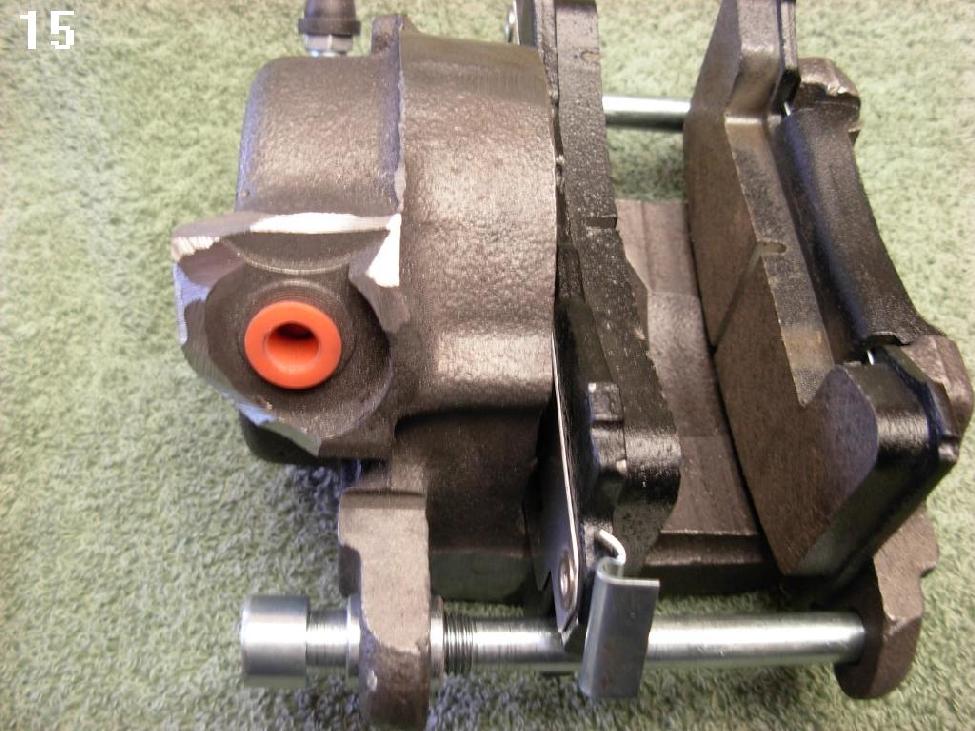
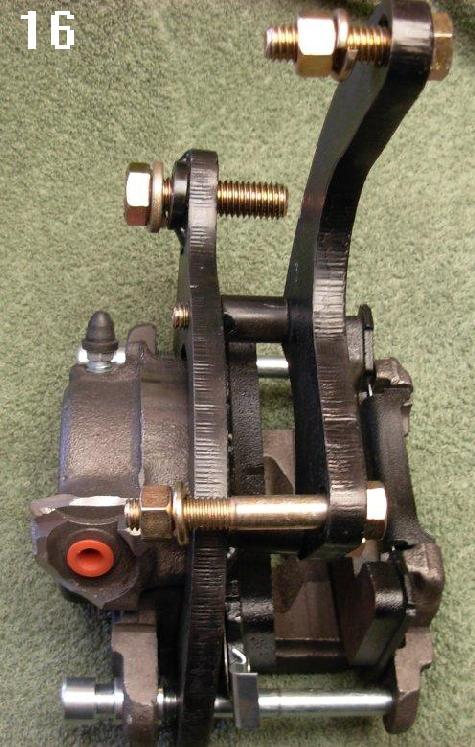
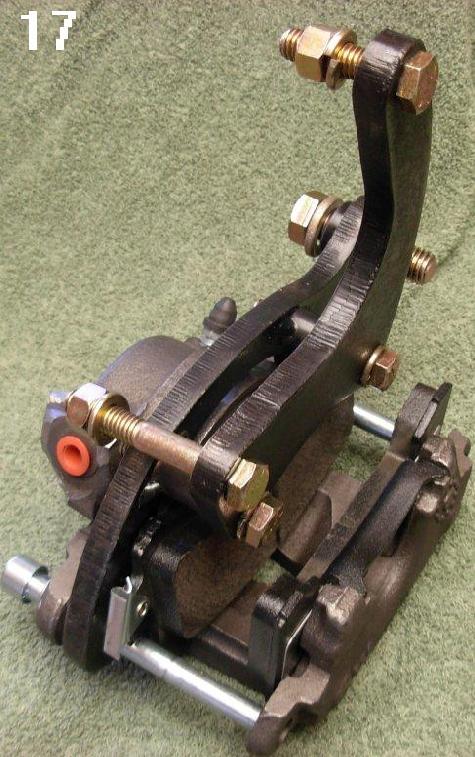
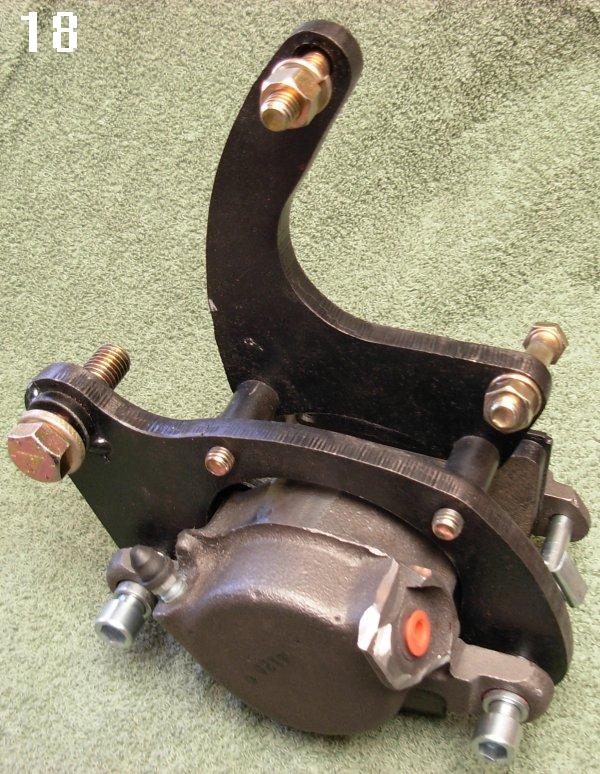
Pics 13,14,15,16,17,and 18 show the caliper and caliper & brackets as they will look when installed.
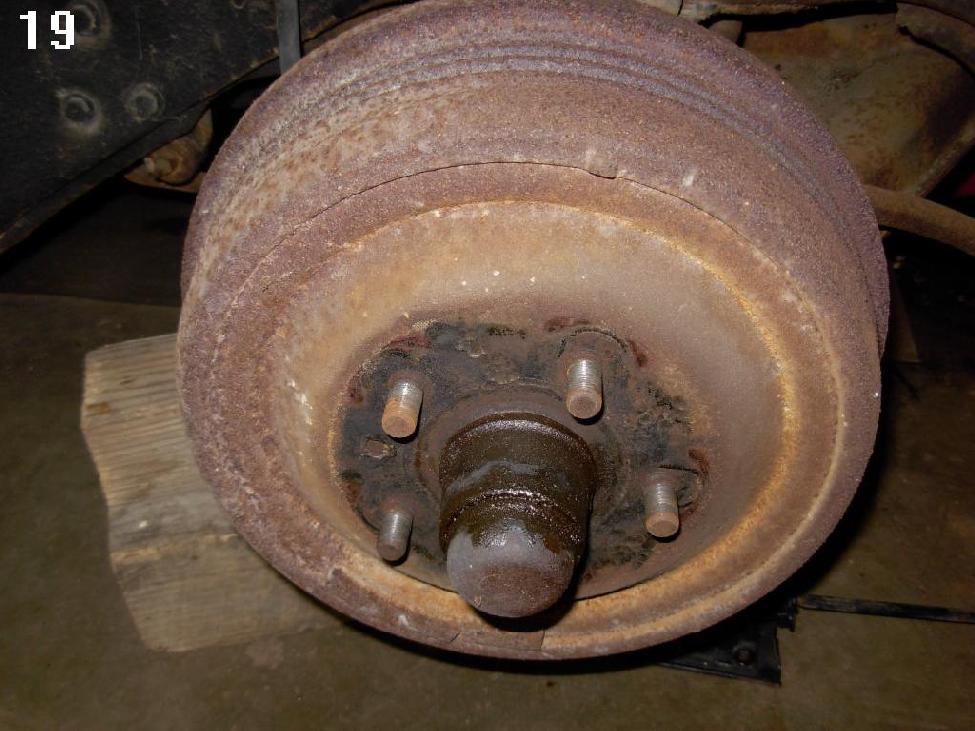
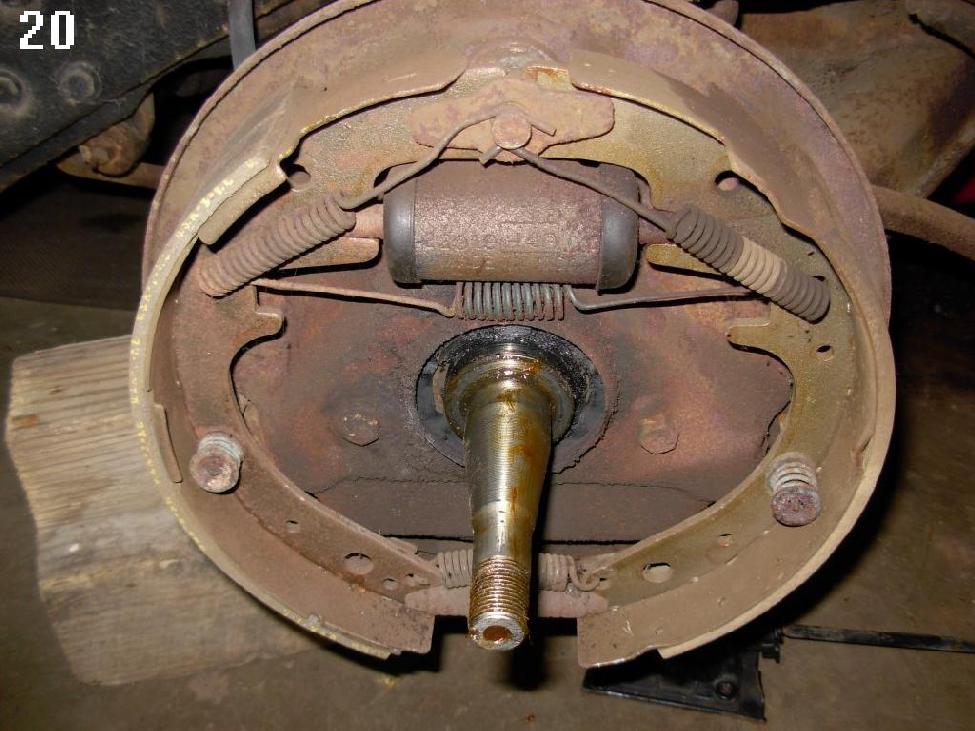
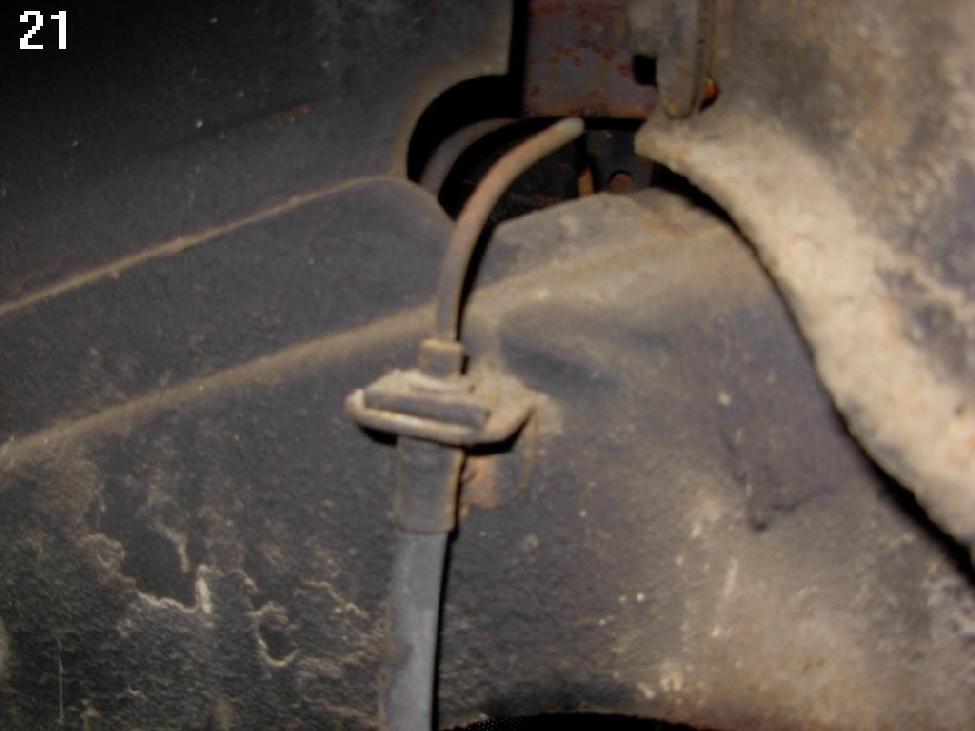
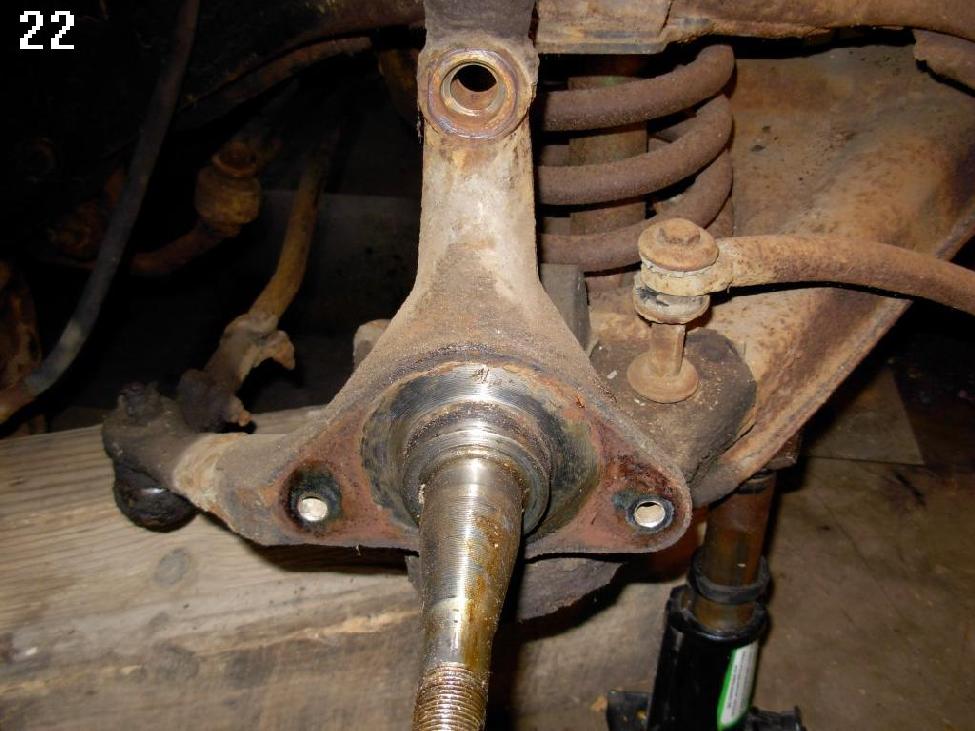
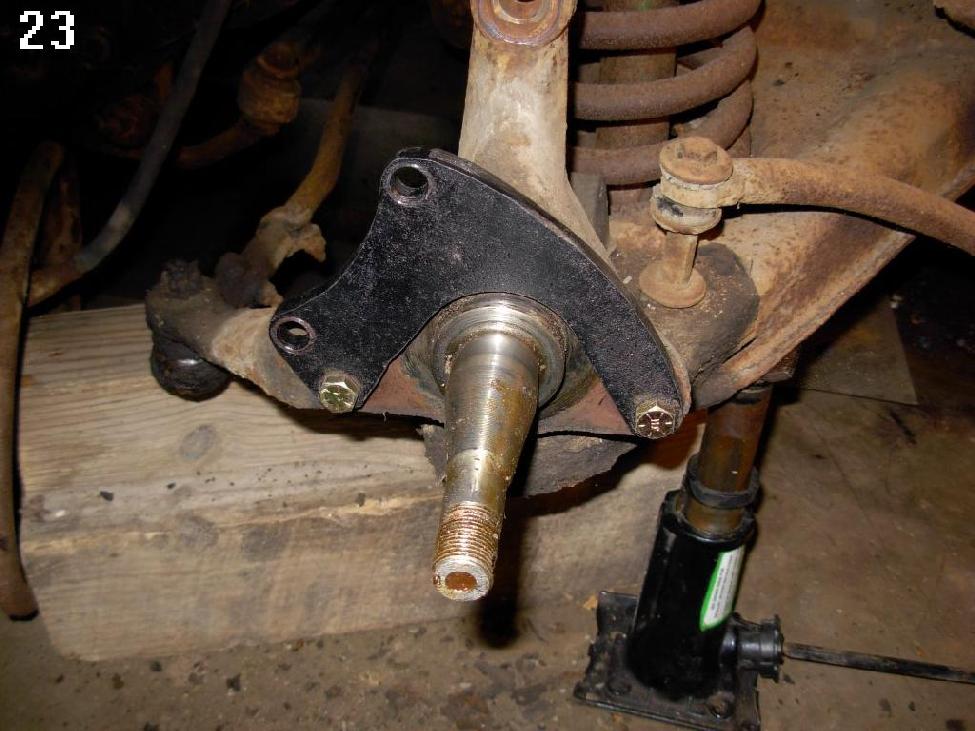
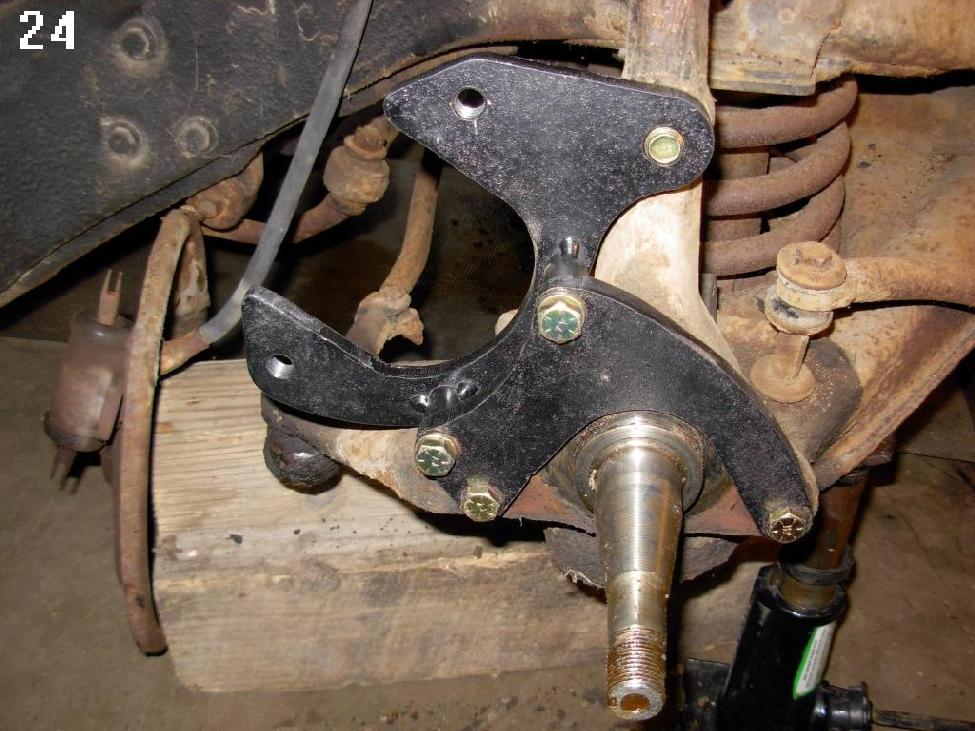
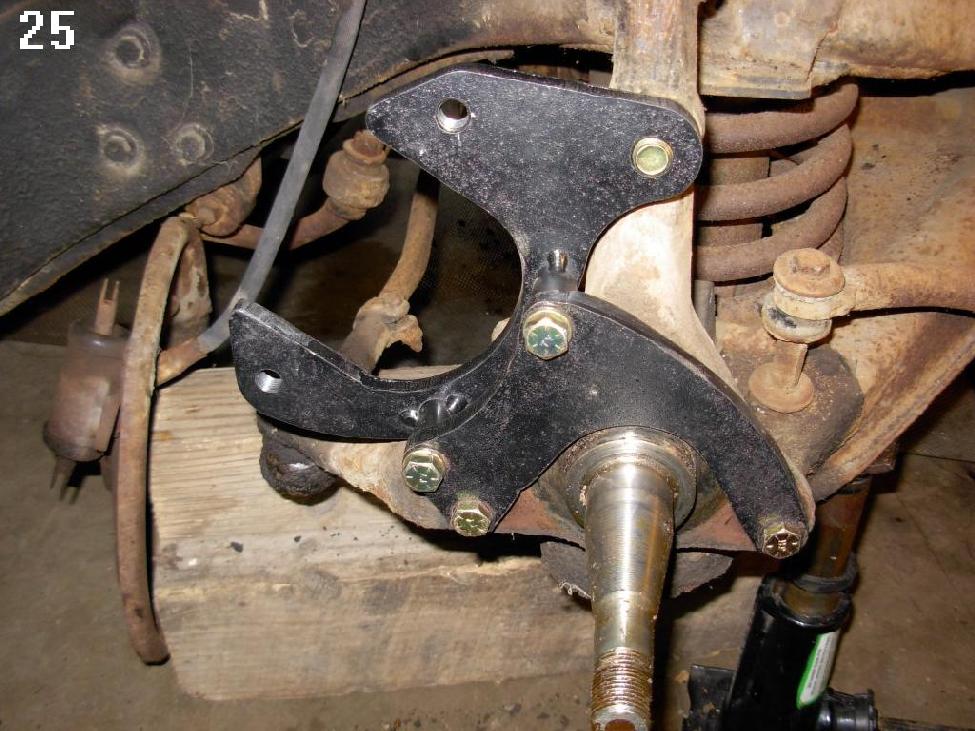
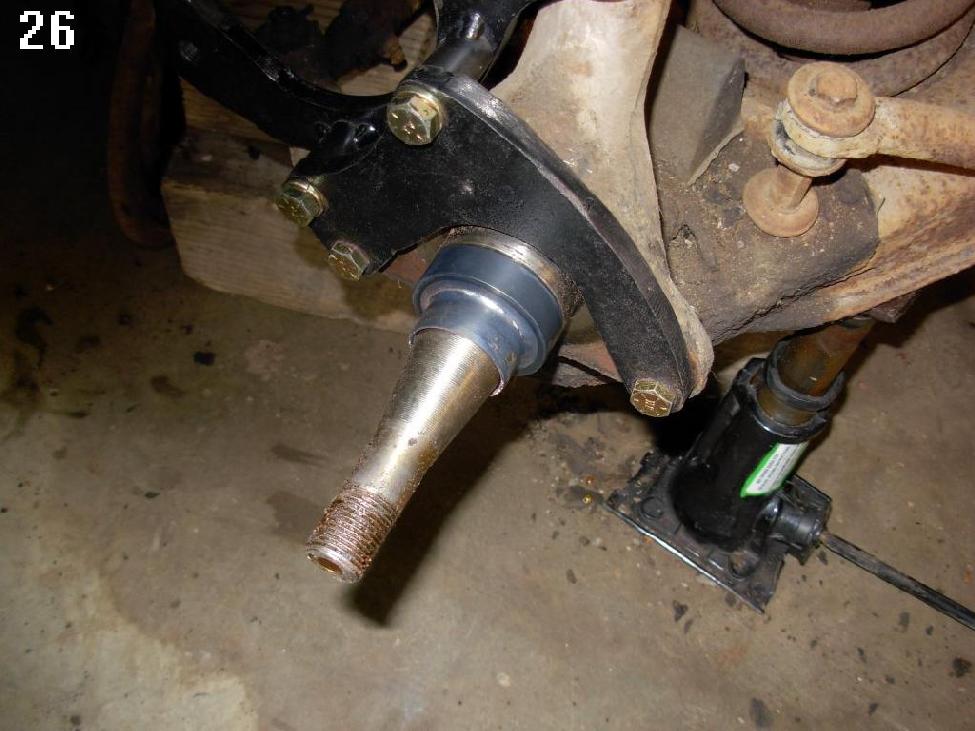
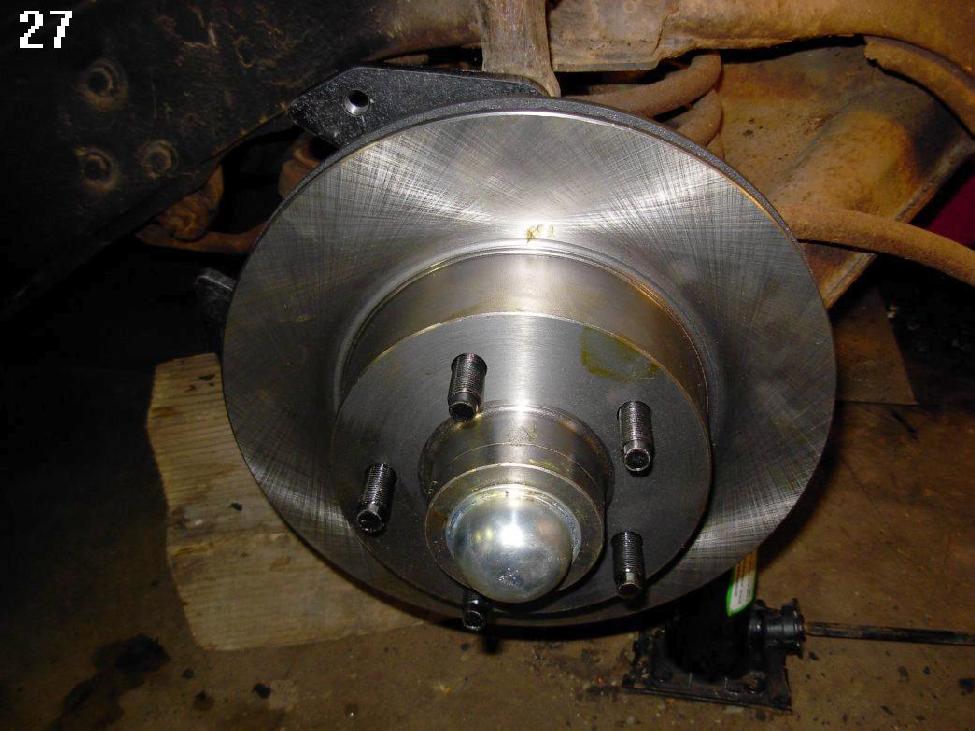
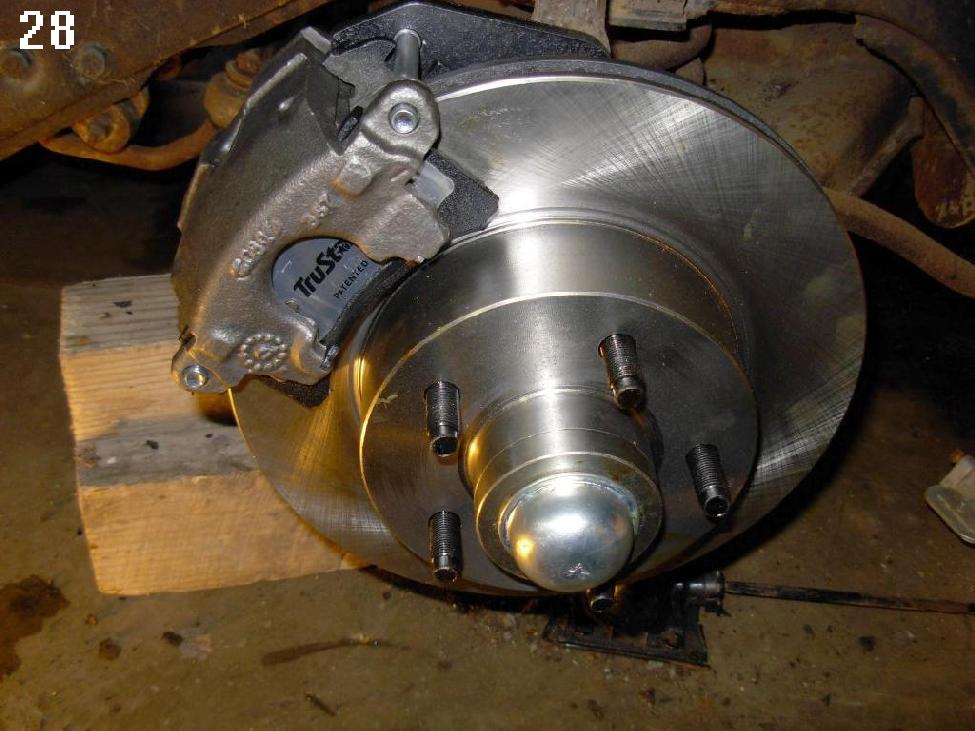
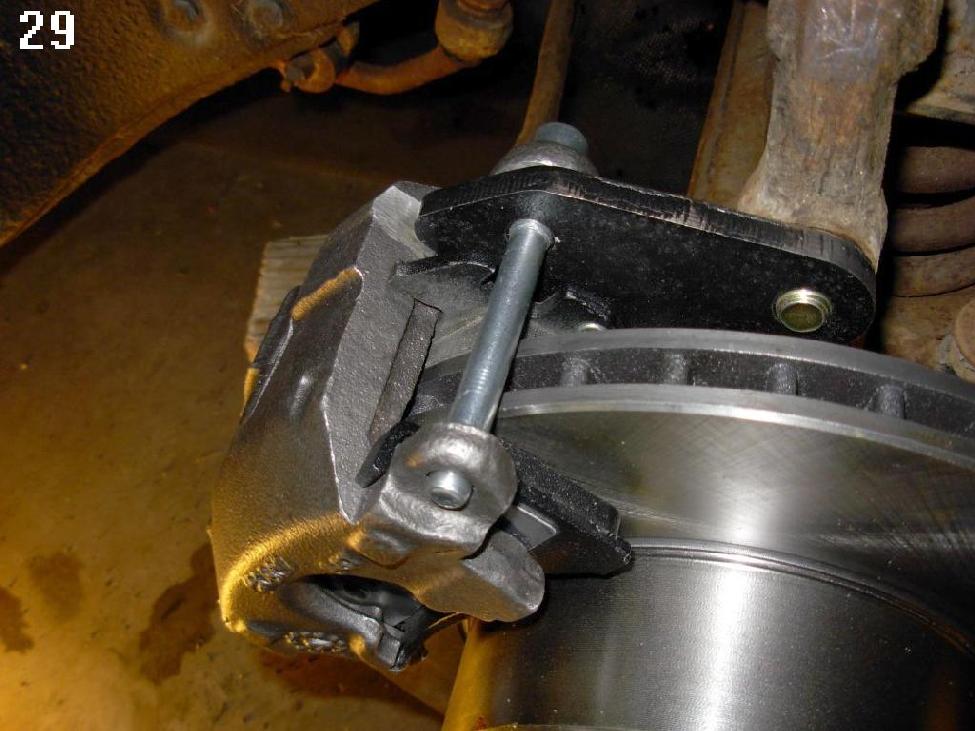
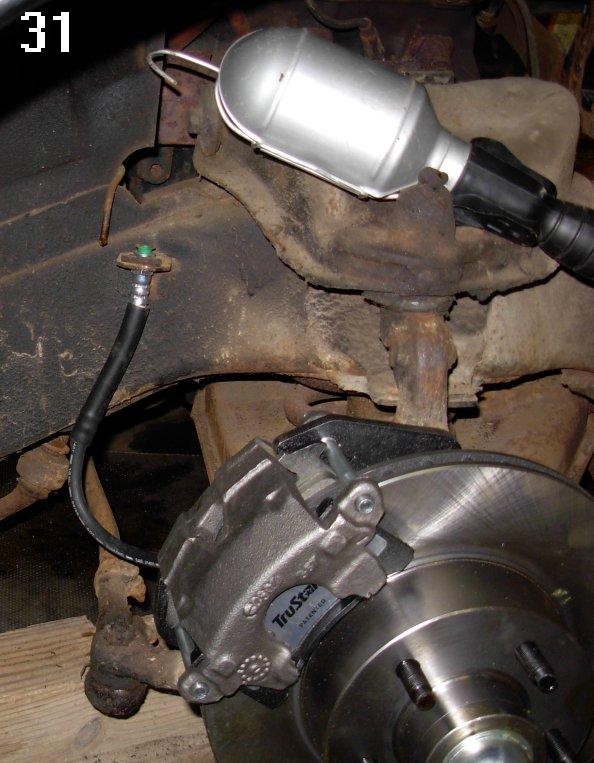
Pic 19-31 Disc brake 2-disc brake 14 along with pic 10 disc brake 1 show the installation of the right side.
Pic 32 shows the parts list supplied by Hot Rods http://hotrodsandbrakes.com/fordbrakekits.aspx with the kit.
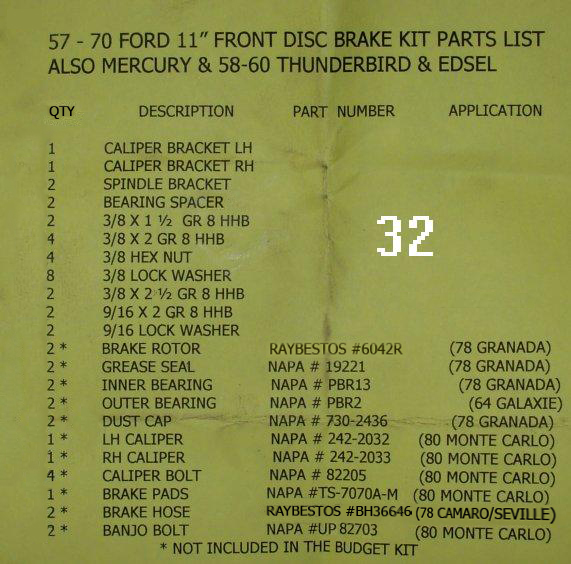
It appears as if the Parts List from Hot Rods has an incorrect part number for the banjo bolts. My banjo bolts NAPA Part # was NOT 82743, but 82703. If you go to the NAPA Online store and search for 82743, you get a trim screw. Search on 82703, and you get NTP 82703 a camshift timing gear. UP 82703 is the banjo bolt. There are other problems with this parts list. NAPA Part #85564 - Rotor is not listed. 4136847 Brake Hose is not either. The PBR2 outer bearing and PBR13 inner bearing part numbers are actually PGB PBR2 and PGB PBR13. The 19221 grease seal is actually NOS 19221. The 242-2032 LH caliper is actually SDC 2422032. The 242-2033 RH caliper is actually SDC 2422033. The 82205 caliper bolt is actually UP 82205. The TS-7070A-M brake pads are actually TS TS7070AM. Cost - $3.29 each. If you go parts shopping with this parts list, you had better take this with you also..
The cost of the Hot Rods FB-2B Budget Kit (1958-1960 Thunderbirds) is $195.00, plus $15 shipping fee. The FB-2S Super Kit is $525.00, plus $60 shipping. The parts list shows what you get in the Budget Kit and what you get with the Super Kit.
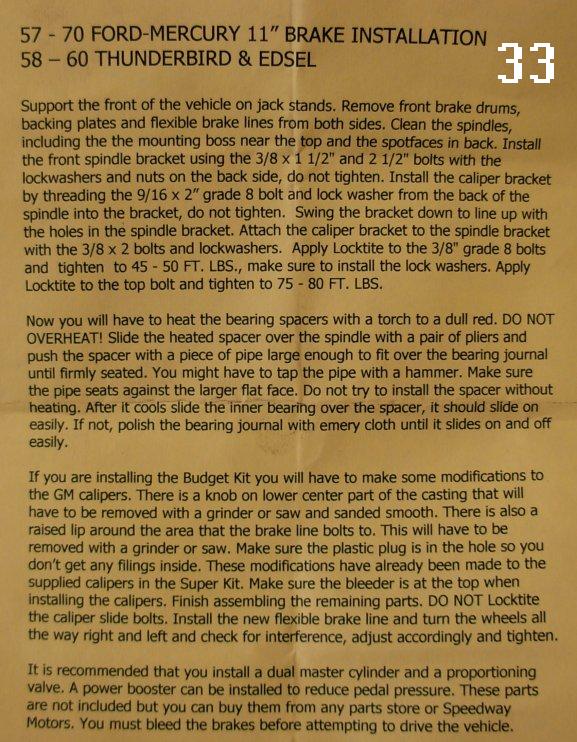
Pic 33 shows the installation instructions supplied with the kit.
Here is a list of tools and items needed for installation.
Jack to jack up the wheel and jack stands or wood blocking to support the car if it falls off the jack.
Lug wrench to remove the wheel.
9/16 socket for the drum backing plate and disc brake bracket bolts.
1 1/4 socket for the drum bolt nut at the top of the backing plate behind the upper part of the brake shoes.
1/2" breaker bar or ratchet.
9/16 wrench for the drum backing plate and disc brake bracket bolts.
13/16 wrench or socket for the upper spindle bolt on the back. Used for the drum backing plate and the disc brake upper bolt.
10mm wrench for the banjo bolt and the brake bleeder screw is also 10mm on the GM caliper.
Brake pliers to remove the brake shoes and springs.
Wire brush to clean crud off of spindle.
3/8 line wrench to remove and install the steel brake line.
Pliers to remove the cotter pin from the spindle nut and the brake shoe retaining pins.
Hammer to knock the upper bolt out of the spindle. It fits in a hole in the spindle.
Plain screwdriver or chisel to bend up the locking tab on the 1 1/4" nut.
Side cutter to cut the steel brake line when it won't come loose with the line wrench.
Torque wrench if you have one.
You need a caliper bolt wrench. It is a 3/8 hex (allen) wrench. A 10mm allen wrench will also work.
Some anti-seize compound for the caliper bolt threads would also be nice. They are hard to remove over time. DO NOT use locktite on caliper bolts. You will have a devil of a time getting them out when you want to replace the brake pads.
If you have access to an impact wrench that will speed the disassembly up. I wouldn't recommend assembly with one.
Supplies:
Locktite for bracket bolts.
Wheel bearing grease for packing wheel bearings.
Brake cleaner or starting fluid to clean the spindle and the oil coating on the new rotors.
NOTE; Be careful with starting fluid. It's very flammable but cleans very well.
Paint (color of your choice) if you want to paint the spindle or the new calipers or anything else you want to paint.
Emery cloth ( 400 grit) to polish the new bearing spacer if needed.
The pictures closely match the instruction sheet for assembly.
To heat the spindle spacer I used a cutting torch. A propane torch would work but I have the cutting torch handy. If heated, the spacer slides right on easily and didn't have to be hammered on. Also I used a bench grinder to trim the calipers where noted. About any kind of grinder will work.
If you have any questions or clarifications let me know. The Scarebird bracket is different but any of the other suppliers two piece brackets should install the same as this one does. You can see in the caliper pictures where the grinding in the instructions is done.
Gary Hamm (1946hamm)
Created: 5 January, 2010
Last Edited: 31 July, 2010
Email: webmaster@squarebirds.org
Return to Squarebirds Home.


