
Dash Pad Installation 1958 1959 1960 Thunderbirds
1958 - mid-year 1959 Thunderbirds
Replacing a dash on a 1958 to 1959 Thunderbird is a big job. Allow a whole day for it. Don't rush the job. You do not want to make any mistakes trimming the new dash cover. New dash covers cost about $400. Installation of the late 1959 and1960 Thunderbird dash pad is similar, but does not require as much trimming, because there are no dash backing plates. The late 1959 - 1960 dash extends under the coves all the way to the instrument panel and the glove box. Instructions for installation are similar. An addendum to the instructions to install these dashes is at the bottom of this page.
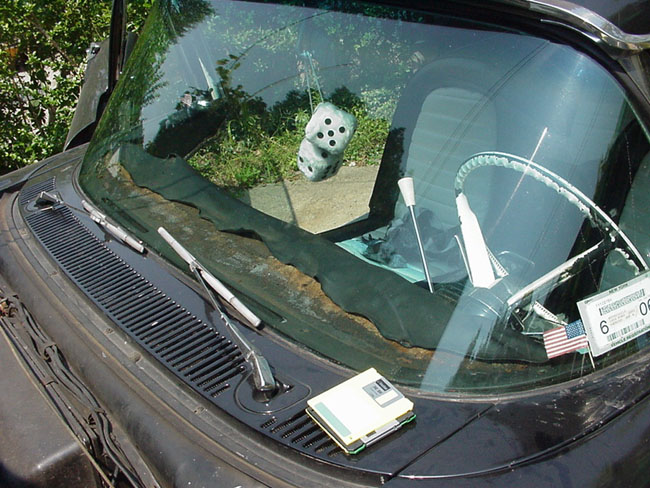
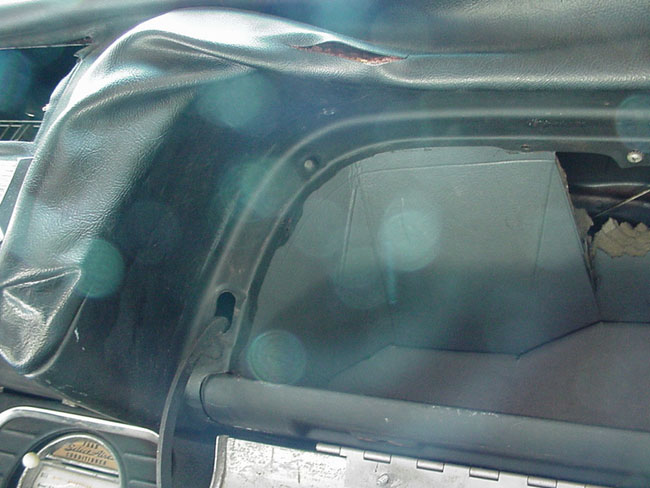
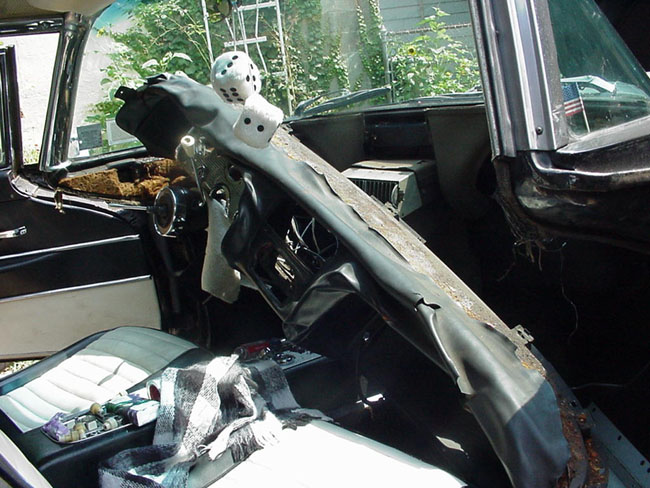
All the original dashes sag and distort, mainly because the foam padding underneath becomes a sandy compressed goo. Your original dash pad probably looks like this:

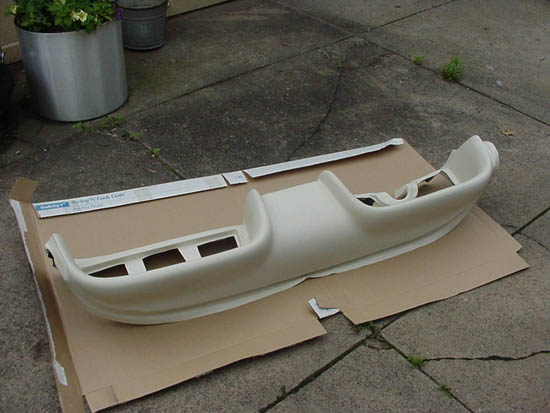
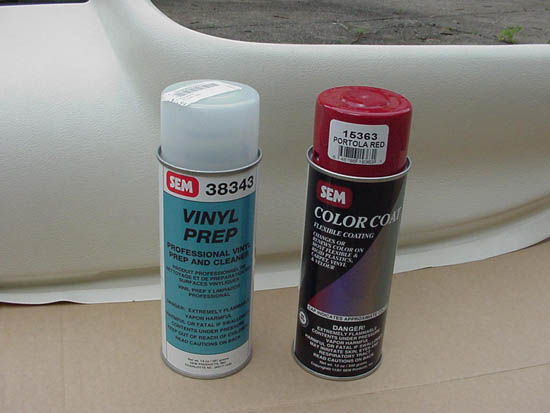
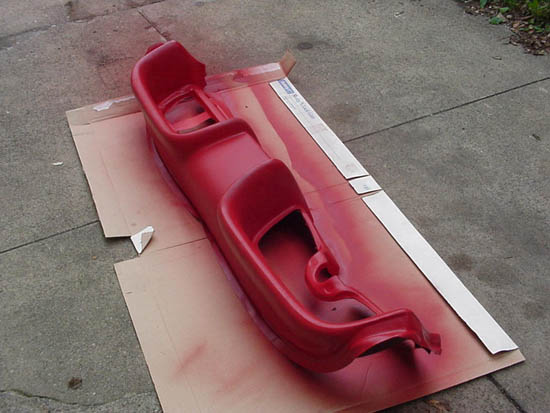
You may need to dye you new dash as they are currently only available in black, though you may be able to find a few white ones. SEM makes good dyes for vinyl. You will need to use a prep to clean off any residue and oils to make sure the dye binds properly. Here I dye a white dash to red.
These are steps to put in a new one:
3. Unscrew and remove the vinyl kick panels on both sides of the car.
4. Unbolt and remove the glove box door.
5. Unbolt and unscrew the under dash panels on the driver's and passenger's side. The bolts are located the other ends of the panels. There is only one bolt per panel. The procedure is easy on passenger side. The drive side is more complicated as you need to unbolt the parking brake assembly and the hood release assembly.
6. Pull off the bezels surrounding the fuel/temperature gauge, speedometer and clock. Unscrew the instruments, disconnect the lamps and wiring and remove. To remove the speedometer, you also need to unscrew the knurled end of the speedometer cable that attaches to the speedometer.
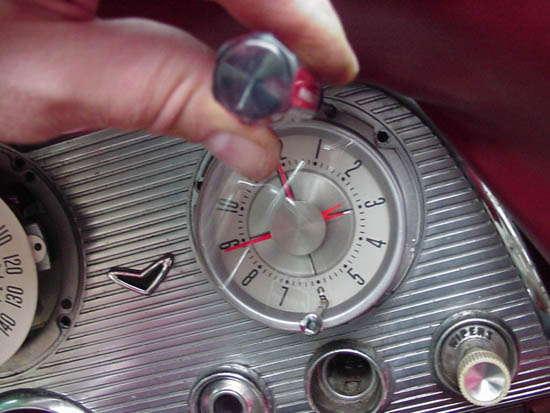
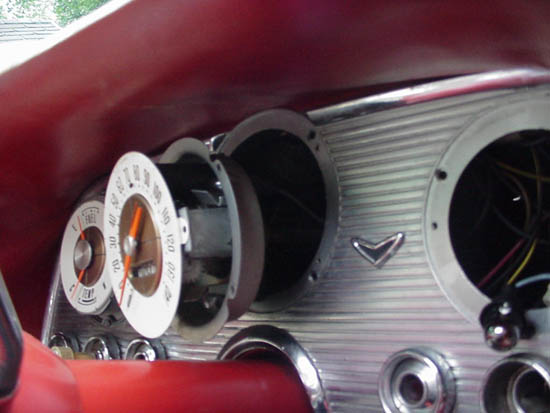
7. Remove all the bulbs attached to the inside of the instrument panel including the oil and generator light.
8. Remove the light switch knob by pushing the knob all the way in then pressing the release button on the inside of the light switch on middle of the right side while pulling on the knob. Unscrew the chrome center of the light switch.
9. Remove the ignition switch by using a big flat blade screwdriver to rotate the chrome center by a quarter turn.
10. Remove the knob from the windshield wiper switch by loosening the set screw using an allen ( hex) wrench.
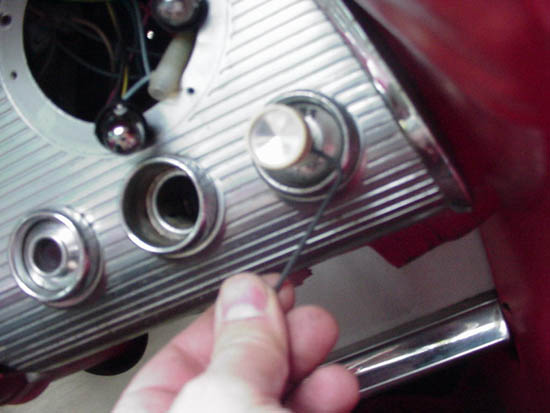
11. Use a special instrument tool to unscrew the chrome center of the windshield washer switch. If you do not have the tool, you can substitute a needle nose pliers.
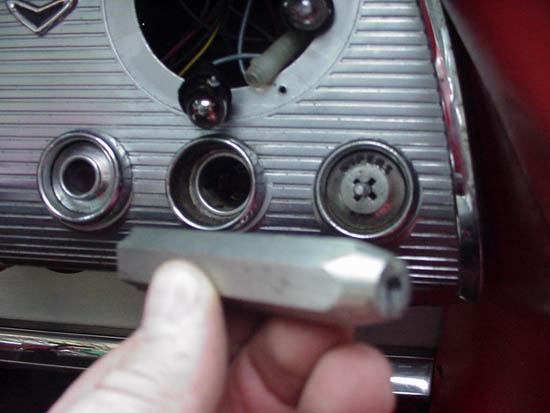
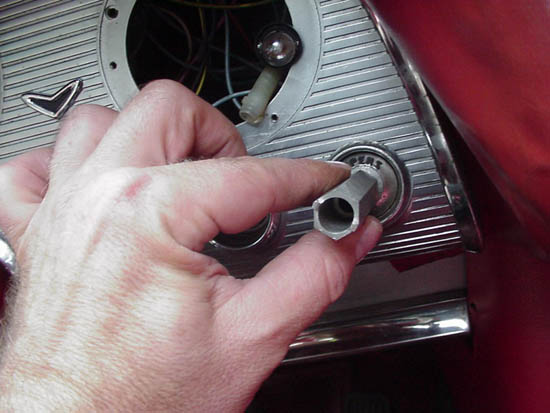
12. Pull off from the green wire from the fuel/temperature gauge from the voltage regulator found on the inside of the instrument panel between the speedometer and the fuel/temperature gauge.
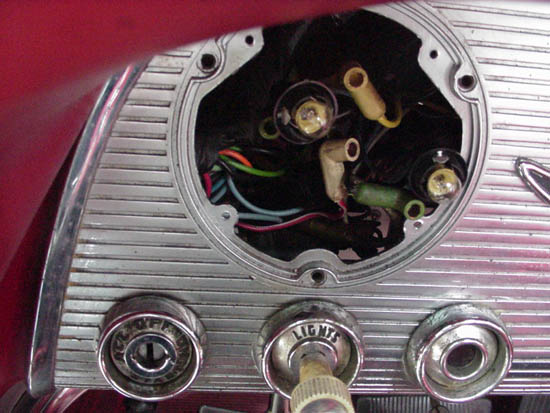
13. Unscrew the panel under the radio. Unbolt the radio from underneath.
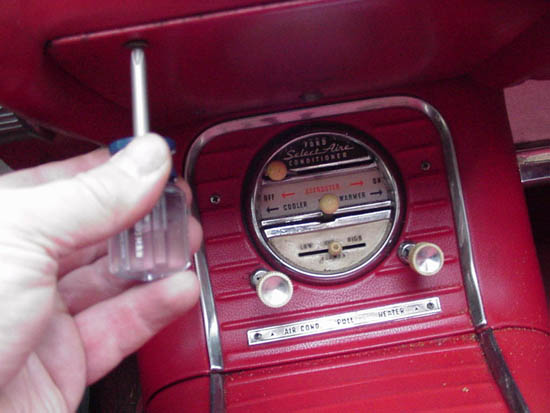
14. Unscrew and remove the A/C bezel if so equipped.
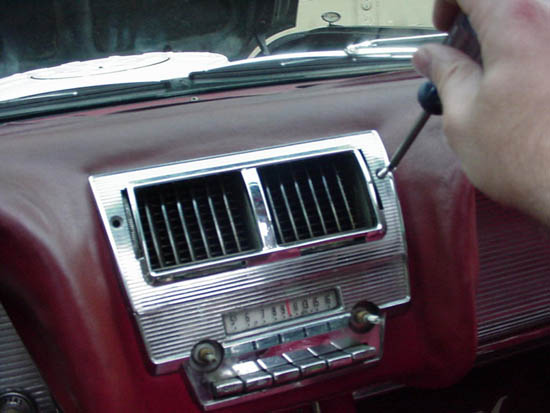
15. Remove the radio knobs and unscrew the nuts underneath with a 9/16 deep socket. Remove the bezel.

16. Unscrew the handle of the spotlight and unscrew and remove the retaining ring on the shaft. Pull out the spotlight and shaft from outside the car.
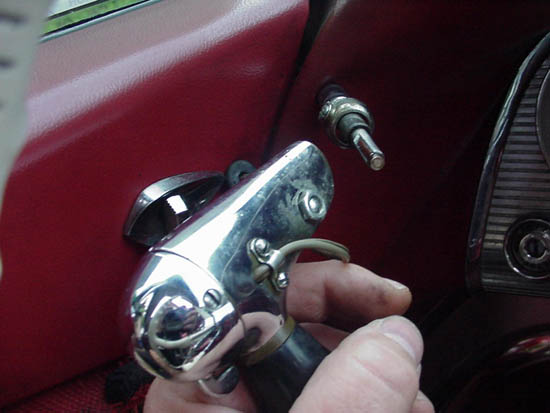
17. Unbolt the metal dash panel at the windshield. There are six 5/16 inch head screws holding it in at the windshield edge. Unscrew the two phillips head screws holding the flat plates that attach to metal dash at the doglegs.
18. Unbolt the the two bolts at the ends of underneath the dash which were next to the bolts holding the under dash panels.
19. Unbolt the steering column from underside of the dash using a large #4 phillips head screwdriver.
20. Unbolt the two 9/16 inch head bolts underneath holding the metal part of the dash to the column using a socket wrench with an extension. These bolts are hard to see.
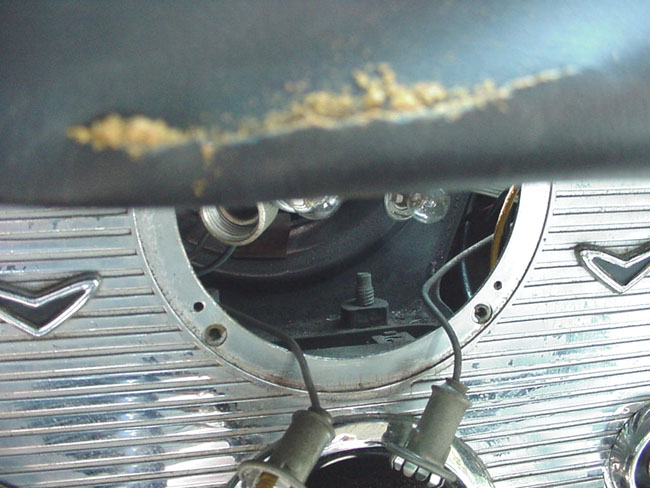
Bolts are visible through speedometer mounting opening.
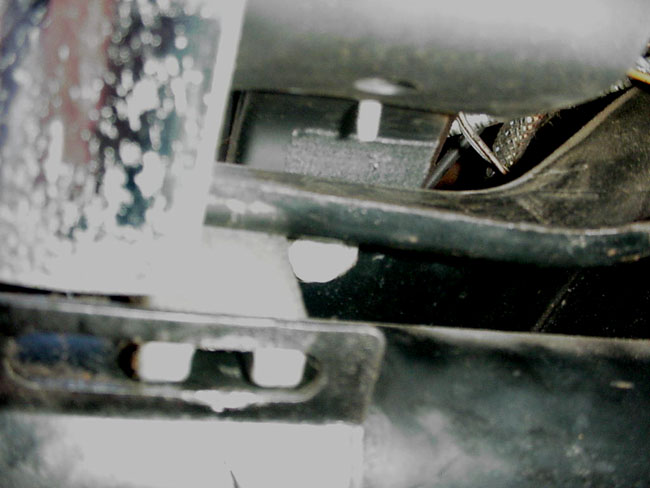
View from underneath. One of the bolt heads is seen in the center of the
picture above.
21. Put a towel on the top of the steering column under the dash to prevent it from being scratched when you remove the dash. At this point you should be able to pull the metal dash out by pulling it straight back and out.
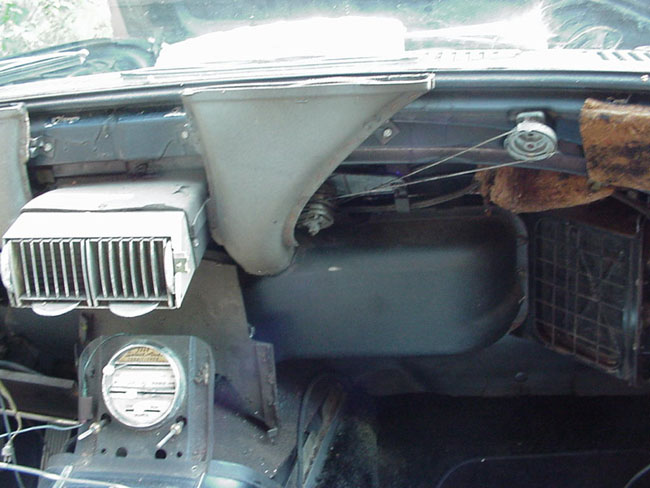
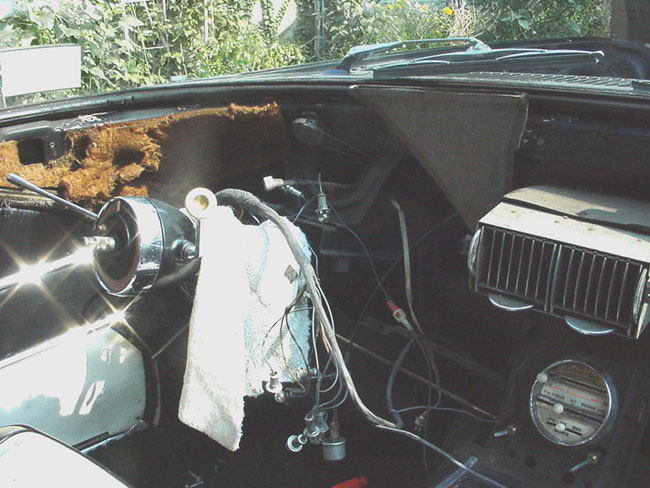
22. Remove the dash and turn it upside down.
23. Remove the brackets at both ends of the dash.
24. From behind unbolt all the speed nuts holding the dash pad to the metal part of the dash.


This is the dash pad removed:
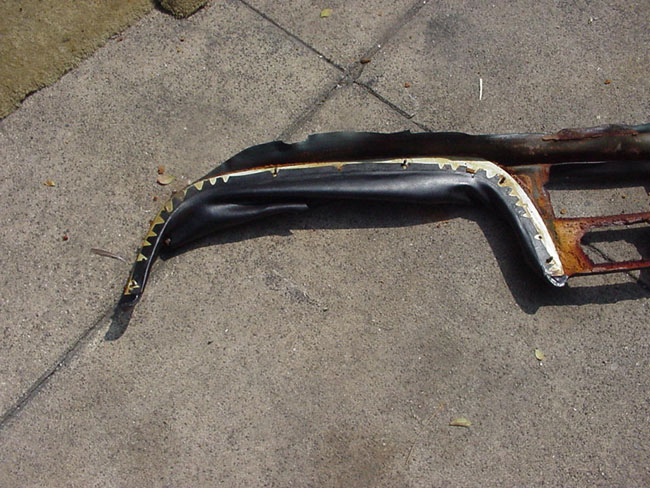
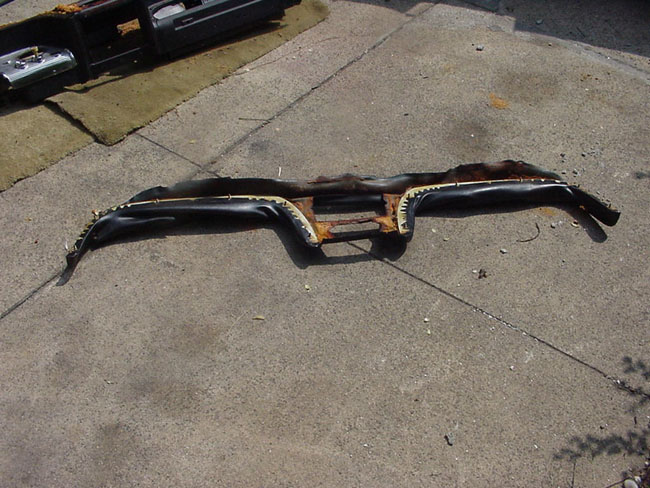
25. Remove the metal backing plates from the dash and clean them off.
26. The metal backing plates have upper edge that points the back of the car when installed. You need to cut a groove in the upper part of the foam padding just under the vinyl. The safest way to do this without cutting the vinyl is to use a gasket scraper as shown below:

27. Test fit the metal backing strips in the the dash pad. They should fit flush. If not make sure the groove in the pad is adequate.
28. Next comes the really scary part. You must cut the dash pad to fit the backing plates. You need to cut the dash so that about a half-inch overlaps the backing plate as it originally was. You will need to remove any foam at the part that overlaps.
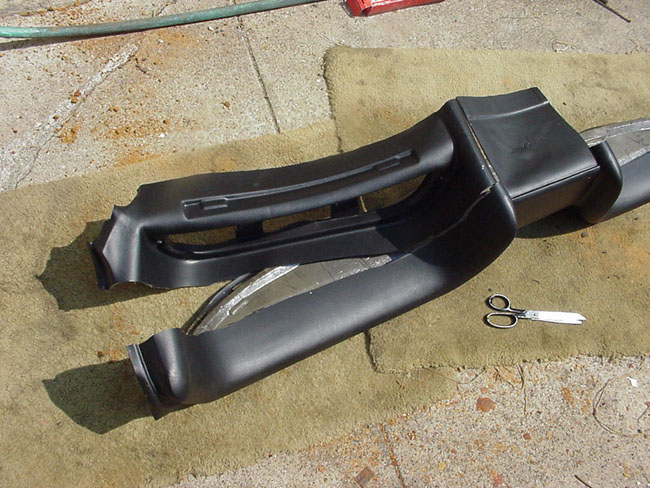
29. You will need to remove any foam at the part that overlaps.Here you see that I have started to remove foam in the region that overlaps. Next make perpendicular cuts to the in the vinyl to overlap to the edge of the backing plate at half-inch intervals where the backing plate bends. The blank areas where the vinyl originally was can serve at you guide. The vinyl will not conform to the shape of the backing plate if you do not make these cuts. It is also best to do this on a warm day or a warm garage so the vinyl will flex more readily.
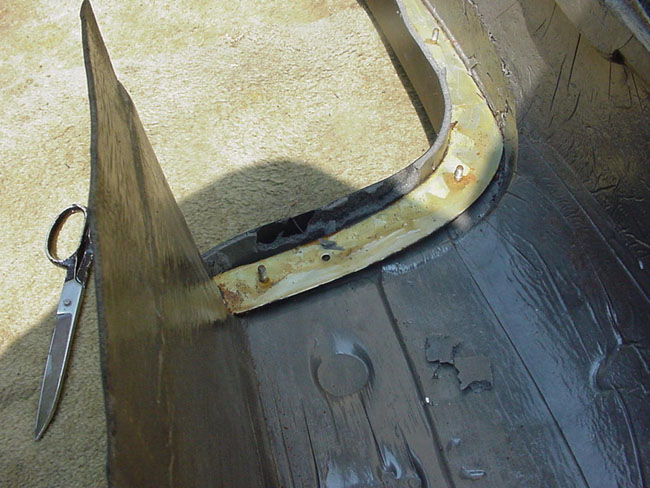
30. Use weather stripping glue to glue the vinyl overlap to the backing plate. 3M make a great weather stripping glue. First apply it to the backing plate, let it dry for a few minutes and then fold the vinyl onto it.
31. You can then bolt the the backing plates back onto the metal dash support. Check the fit. Unbolt and trim any vinyl if there is excess. Then bolt it together for the final time.
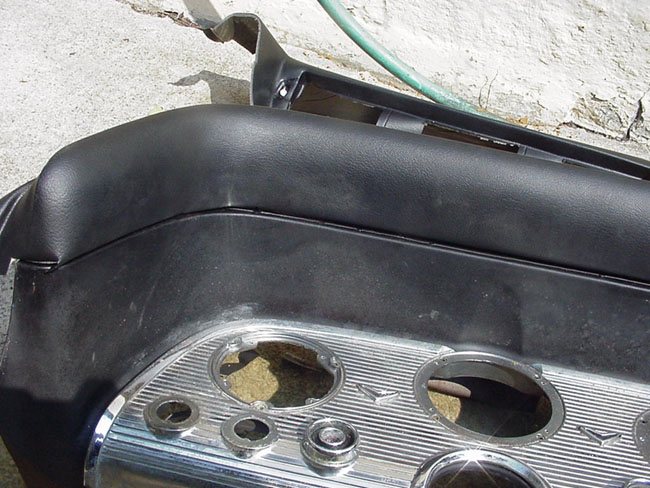
32. Trim the forward edge of the dash pad. Place the metal defroster vent covers on the forward edge of the dash as a guide as to what will remain hidden.
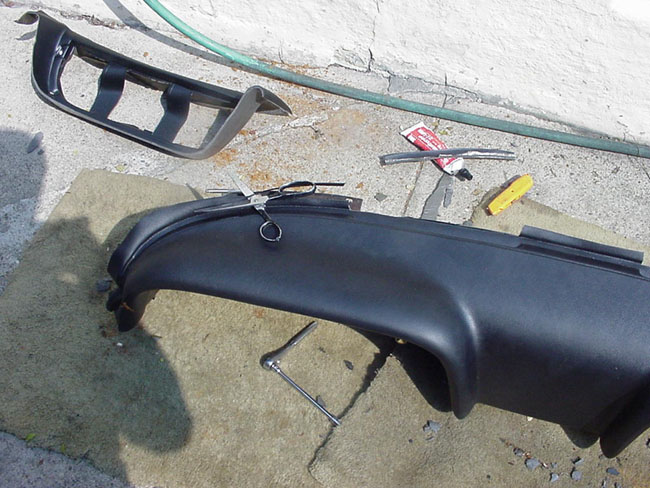
33. Cut out the vinyl where the radio and the A/C vent are, if so equipped. You can do this from behind the dash using the cutouts in the metal support as a guide.
34. Cut out the pad where the access plate under the radio is supposed to be. Leave about a half-inch of overlap so that where you cut will be hidden by the plate.
35. Reattach the metal endplates on the both sides of the metal support of the dash. There is a left and a right.
36. Now you can put the dash back into the car. Bolt and screw it back in and then put everything else back in the reverse order that you took it apart.

Late 1959 -1960 Thunderbird Dash pad Installation
The procedure for the dash pad installation for a late 1959 Thunderbird or 1960 Thunderbird is similar to the 1958 - 1959 Thunderbird dash pad procedure. The difference is in steps 24-31. The later dash pad fits all the way forward under the metal part of the dash to the instrument and glove box opening. There is less trimming to do, but getting to fit around the glove box door can be vexing. The key is to glue the the dash pad near the opening to the metal part of the dash and use vinyl tape to hold the edges of the dash pad to the back of the metal dash.
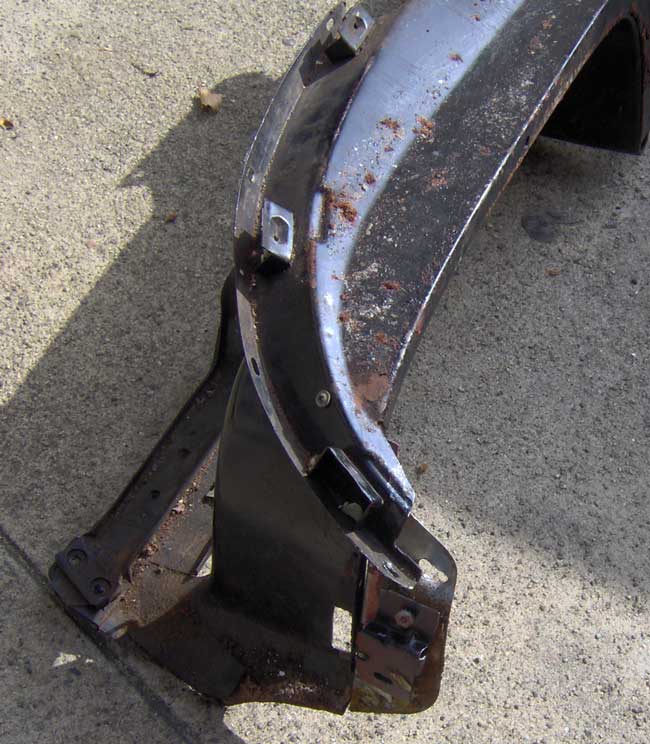
As you can see, the 1960 metal dash does not have backing plates like the
earlier dashes. Instead there are two little metal extension on both ends
of the metal dash. These are held on by two integral bolts.

This is the dash pad mounted onto the metal part of the dash.
It is best to take the loose ends and tape them to the metal part of the
dash using vinyl tape. The tape will be hidden, once the dash is installed.

I found bits of old dash pad under these two trim screws on the lateral part
of the dash, so they were definitely used for assembly at the factory.
I used them. Unfortunately, the trim around the windshield covers them, so
my efforts at correctness will not be seen. One screw can be seen in the
above going through the front of the dash a few inches to the right of the Squarebirds.org decal.
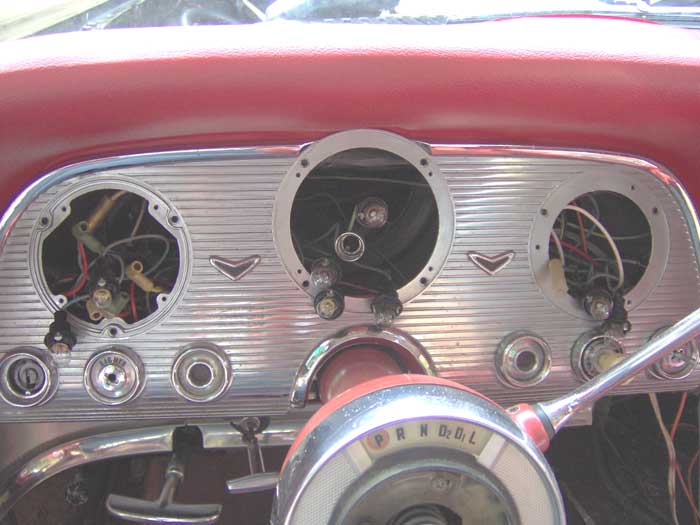
The late 1959 to 1960 dash pad is mounted all the way to to the instrument
panel. The instrument panel needs to be removed first, so the dash pad
can fit behind it. The instrument panel speed nuts hold the dash in place.
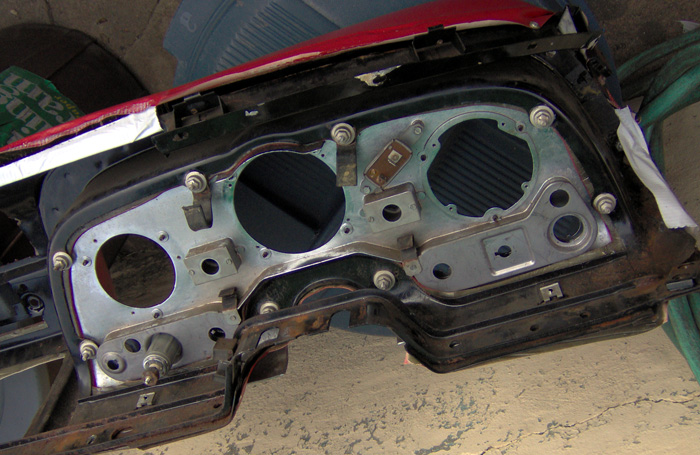
This is how the speed nuts hold the instrument panel in place. The two wire
holders on top should be positioned 180 degrees from the position that
they are pictured. Note constant voltage regulator mounted between speedometer
and fuel/temperature gauge. This must be securely mounted for grounding,
or the voltage regulator and your fuel/temperature gauge will burn out.
Note also the small nut-like fuse on the cigarette lighter.